Update as of 7/21/2021: This page uses affiliate links which means that if you decide to make a purchase through one of these links I will get a small commission at no additional cost to you. Rest assured that I would recommend these products regardless of their commission-based opportunities.

Much like everyone else I’ve had some new down time on my hands and what better way to make use of it than with another continuing education course? When The Futur’s styleframe course first became available a little over two years ago I jumped at the opportunity because if I’ve learned anything in my short career thus far it’s 1) storytelling is a constant work in progress and 2) that I really enjoy creating styleframes, so when I saw that Matthew Encina was going to be the instructor for this course I knew I was going to learn a lot about both subjects from him. Matt’s approach to design and storytelling is very thoughtful and methodical, two qualities that I value very much in my own work, and as a result he was an invaluable teacher. Below I give a rundown of some of the work I created for each of the assignments from Styleframes (previously titled Story & Frames).
The first lesson in Styleframes was all about design fundamentals. Everything from hierarchy, value, context, framing and more was discussed in great detail. I often forget that things that look really good, look good for a reason… because they follow these (and several other) principles. It’s refreshing when I’m reminded of these principles because it allows me to be mindful of my compositions from both technical and communicative points of view.
The goal for our first assignment, and for the duration of the course, was to use the skills and principles discussed in this lesson (and throughout the course) to build a frame that conveys a unique perspective of a zombie apocalypse. I’m not one for zombie apocalypses generally (my husband to this day still doesn’t understand how I’m not on the Walking Dead bandwagon), but I decided to make the frame fit my personal style and different from your typical zombie motif. More on that below.
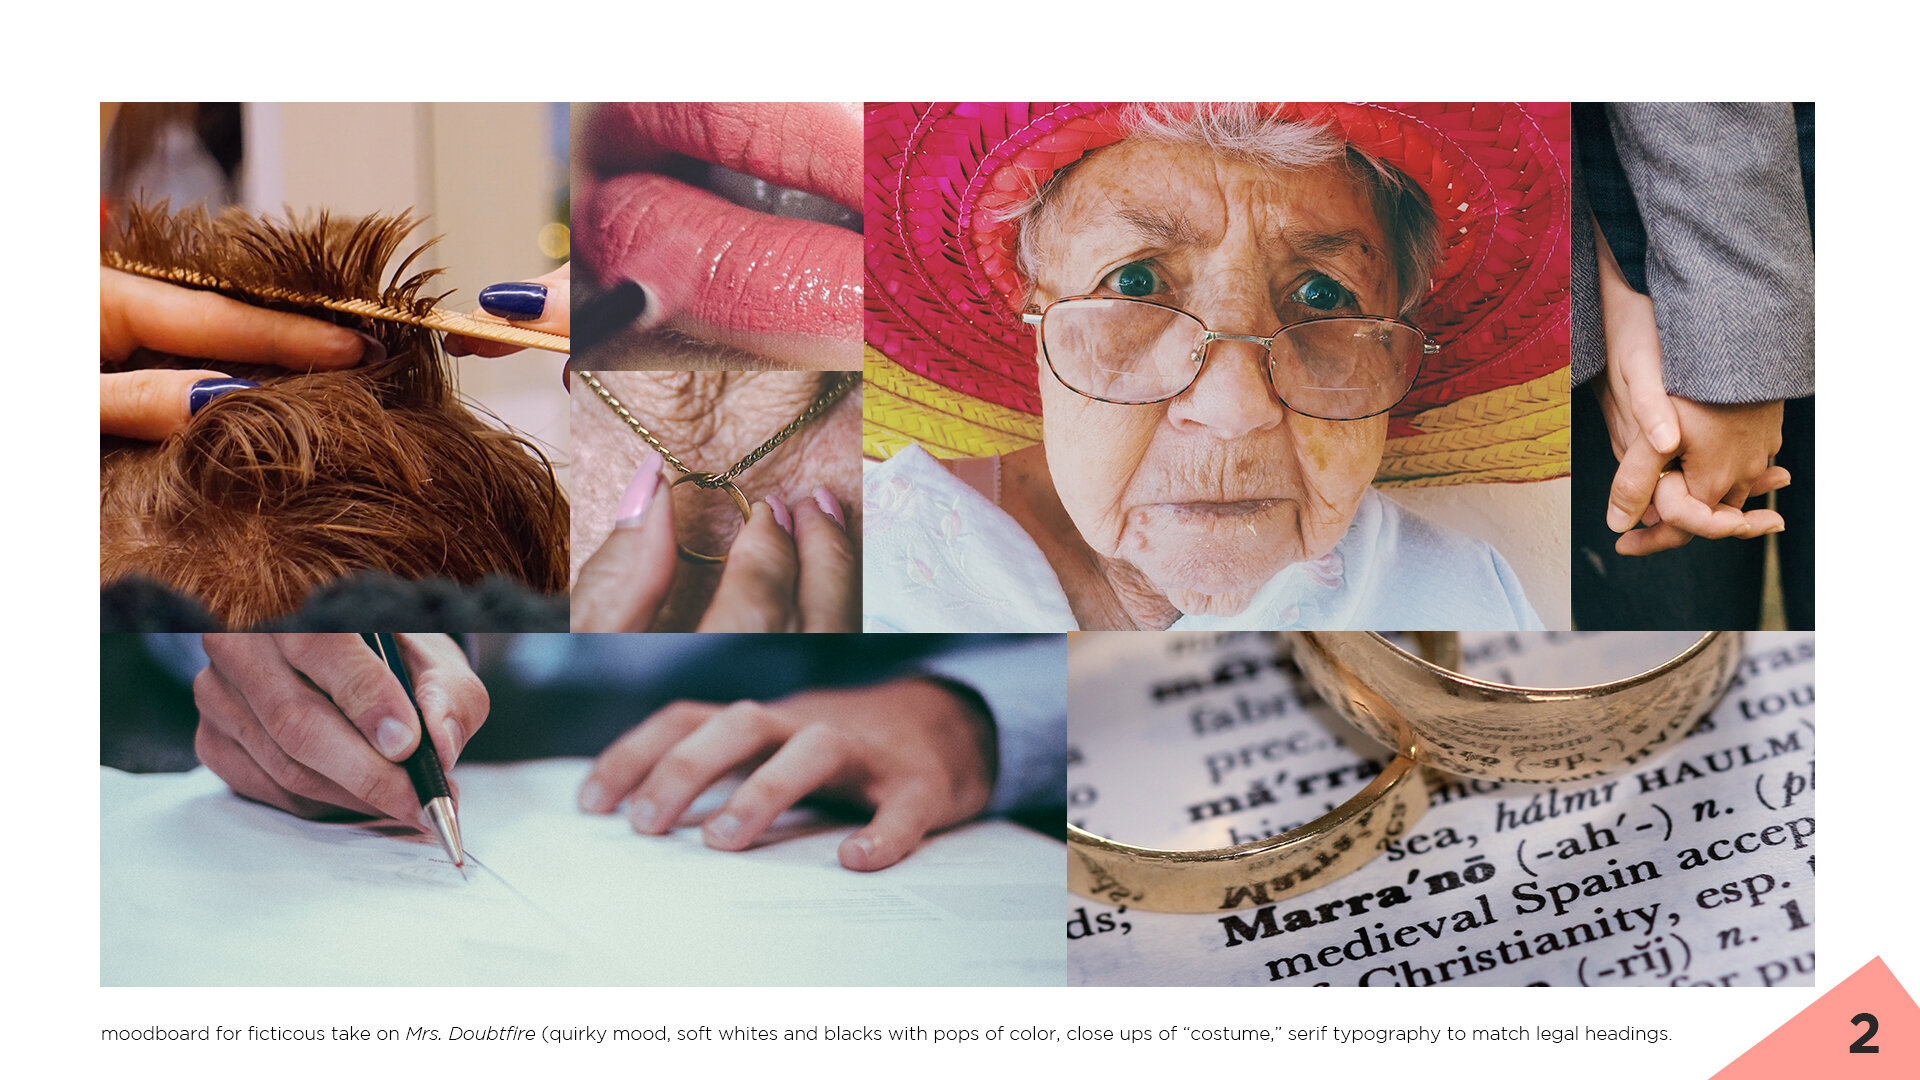
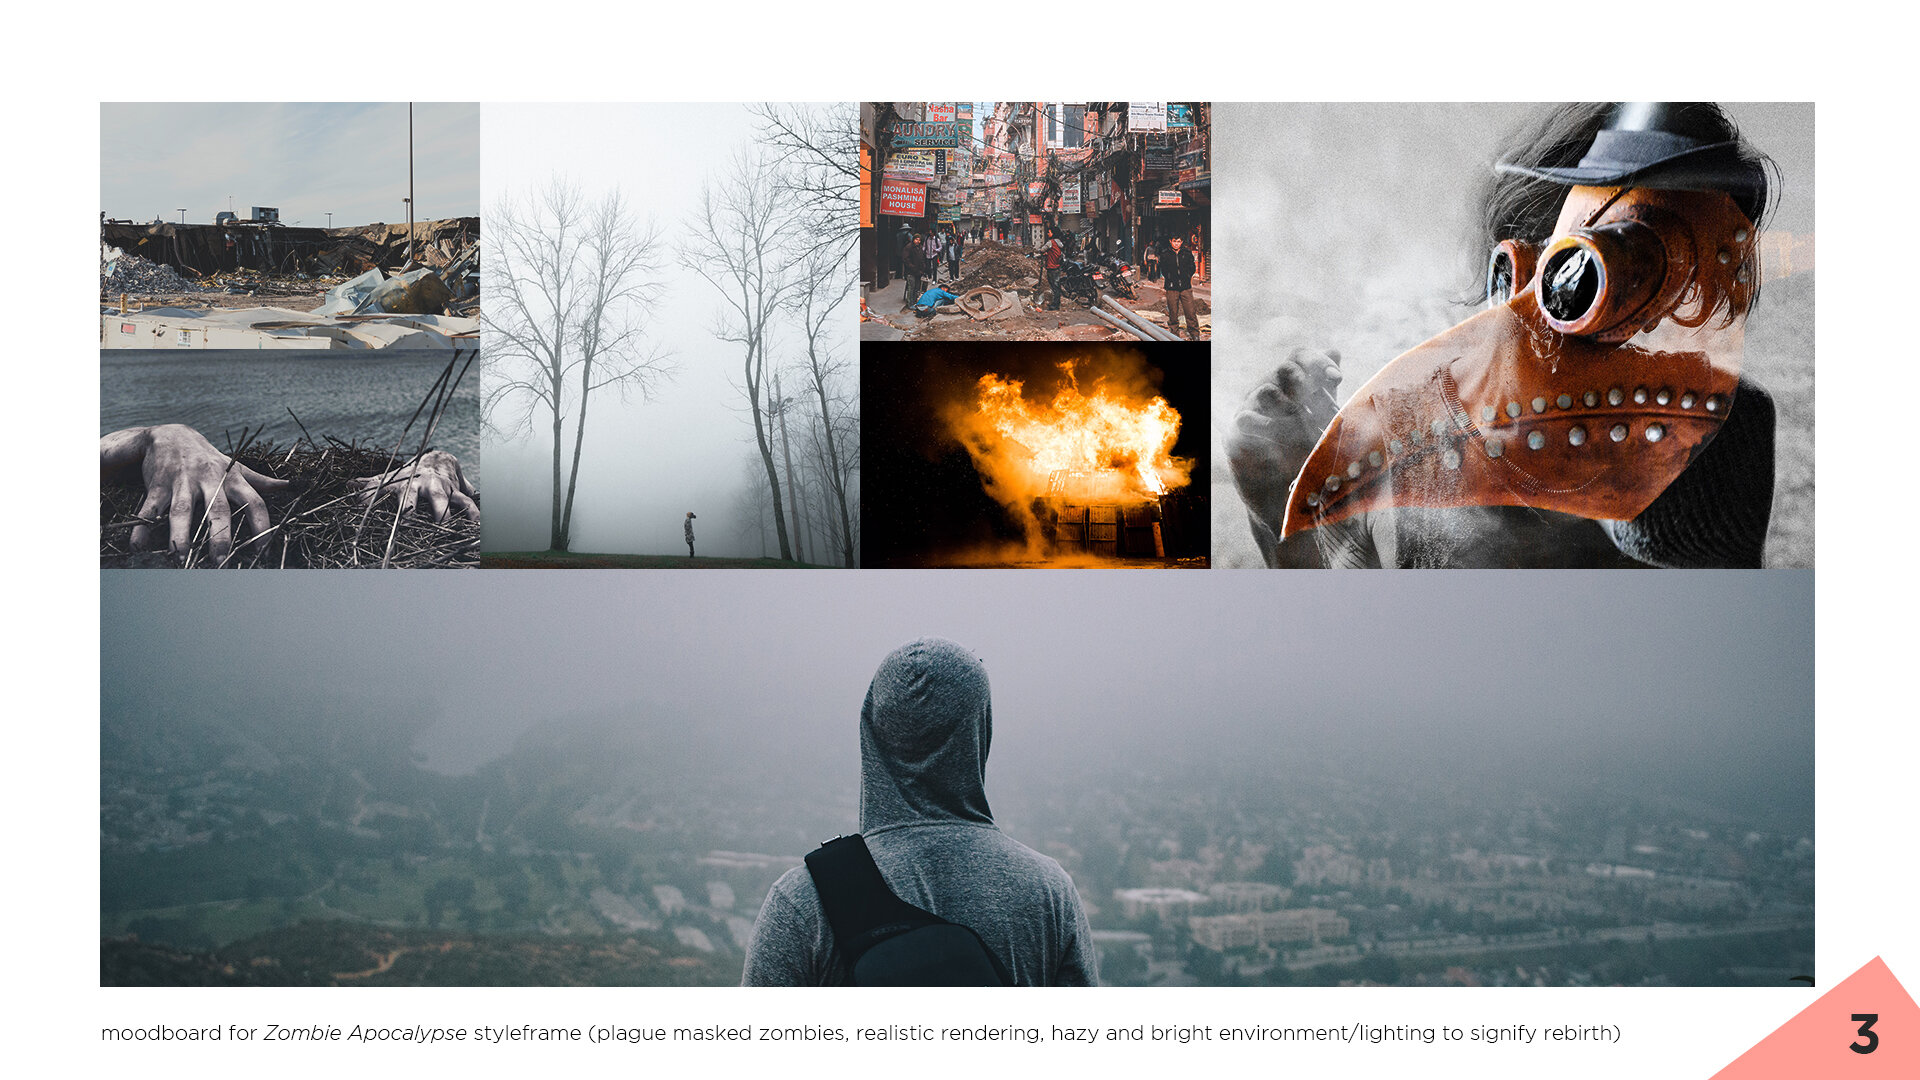
I’m a big fan of moodboards and have always been a proponent of creating one with my clients no matter a project’s scale. They provide a lot of clarity and direction before committing to a style, and are further backed up by styleframes and storyboards before fully executing on any design or animation. You can probably tell why Matt’s methodical approach resonated with me so much now ;) In order for my zombie frame to be strong I knew I needed to create a moodboard that communicated the mood and aesthetic I was hoping to achieve. Additionally, the images I selected would also need to match the language I was going to use to describe my narrative, too.
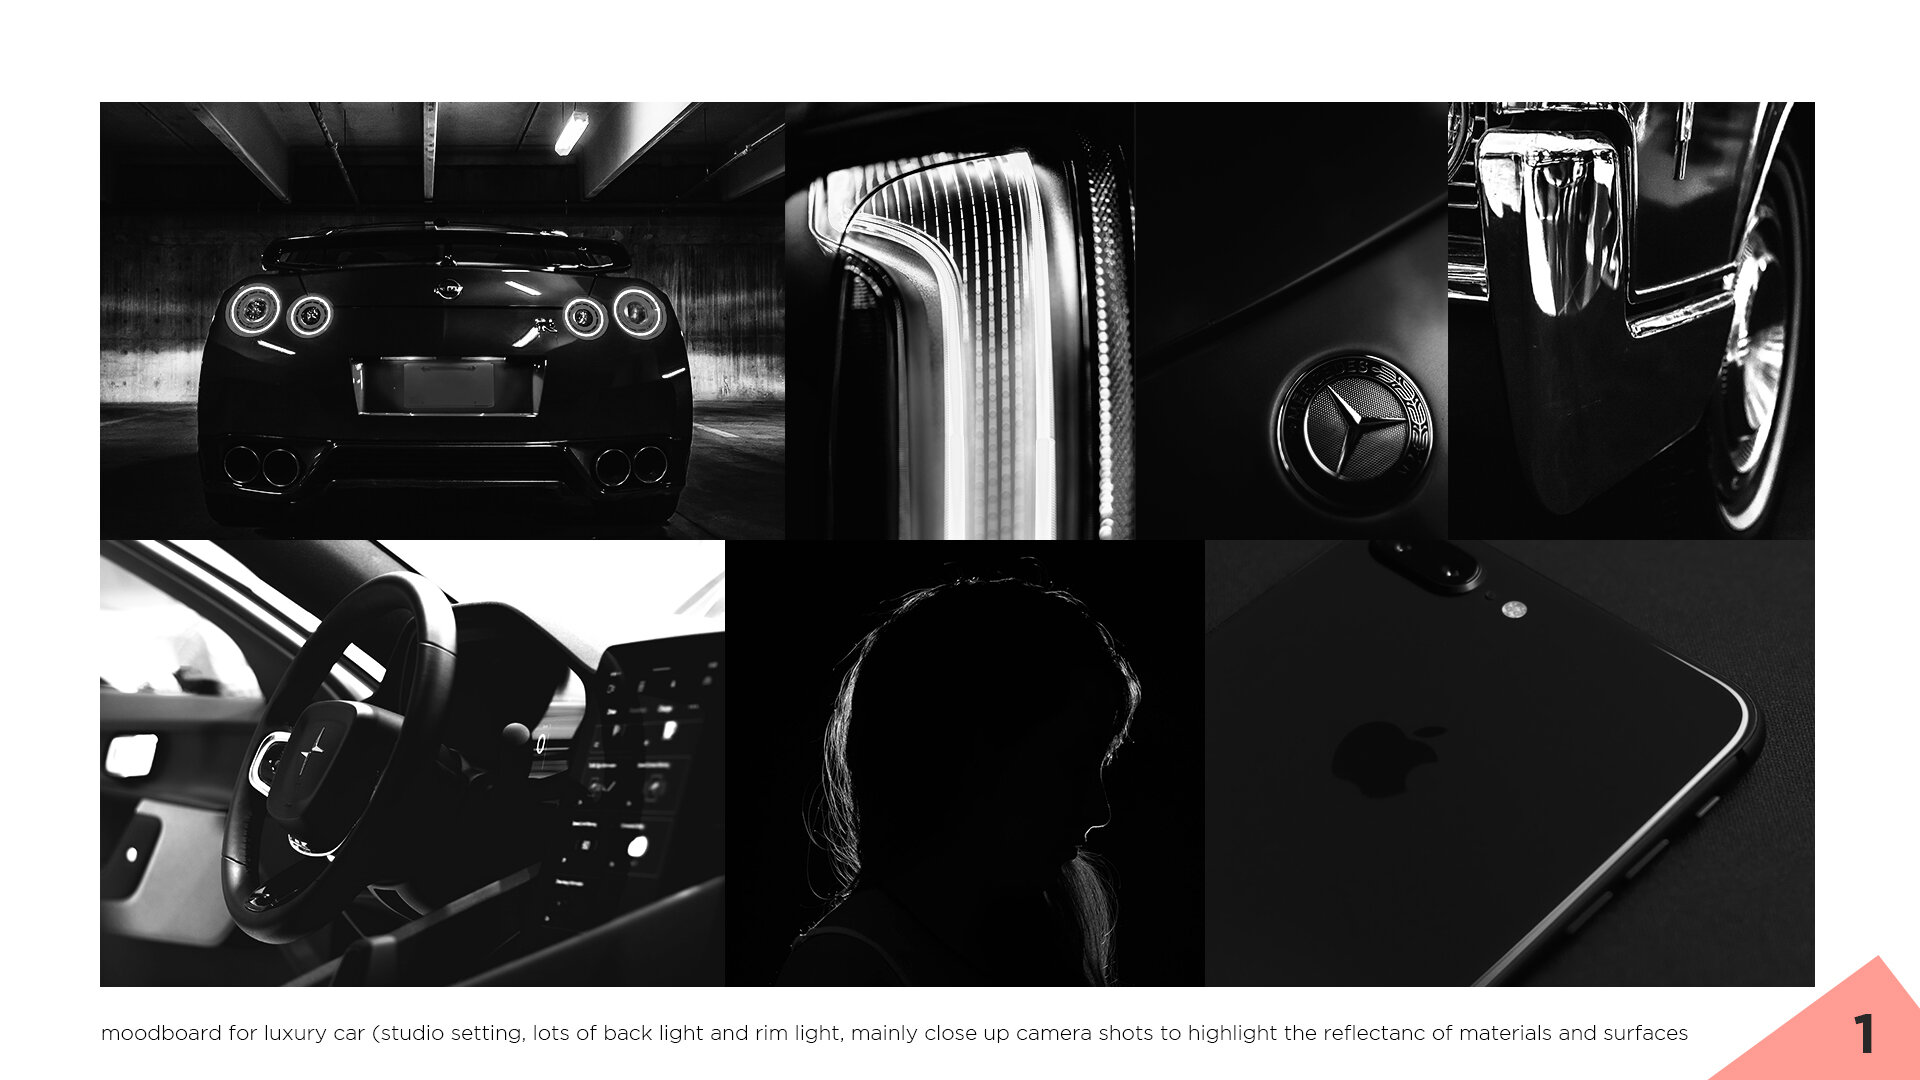
For this assignment Matt tasked us with creating three moodboards for three different prompts. The first prompt was to create a moodboard for a high-end product of our choosing. The second was to create a moodboard for a fictitious title sequence of an existing movie. And the third was to create a mood board for our zombie apocalypse styleframes. For the first prompt I created a moodboard for a luxury car company and specifically chose to focus on the camera angles and materials to set the tone for the speculative piece. For the second moodboard I chose to create a fictitious title sequence for Mrs. Doubtfire, my favorite movie of all time, and decided to focus on soft color palettes, close ups of an older woman and objects of love to set a familiar and gentle tone. For the third moodboard I decided to put a lot of my focus on the lighting and environmental textures in order to create a styleframe that signified rebirth and aftermath. You can find each moodboard in the carousel above with various imagery and descriptions to provide further context.

What I’ve thought of as a pretty mundane task was actually one of the most valuable lessons in the entire course. Matt’s approach to gathering assets was really eye opening. He showed us how to break down our image searches in a multitude of ways, and harnessed the power of language to find imagery that conveyed intent and feeling. My approach to asset gathering has forever changed because of this assignment and it has become an unexpected game changer for brainstorming and my overall work.
I don’t have much to show for this assignment and figured it would be silly to post screenshots of my asset folder and subfolders, but it was a lesson that was very worthwhile nonetheless.
Lesson four was all about compositing, which is easily my favorite part of any project. Matt walked us through his whole process on building a styleframe and it was really cool to watch him in action. He’s incredibly thorough and creates reference boards for every aspect of his frames (i.e., lighting, textures, framing, etc.). He’s also very mindful of where the objects are in his frame and paints/composites those elements accordingly. I’m convinced that he has camera lenses for eyes because his compositing skills are top notch, and I hope to develop this technical prowess one day. That said, I made sure to follow his lead and gave my frame just as much care and attention to detail as possible.
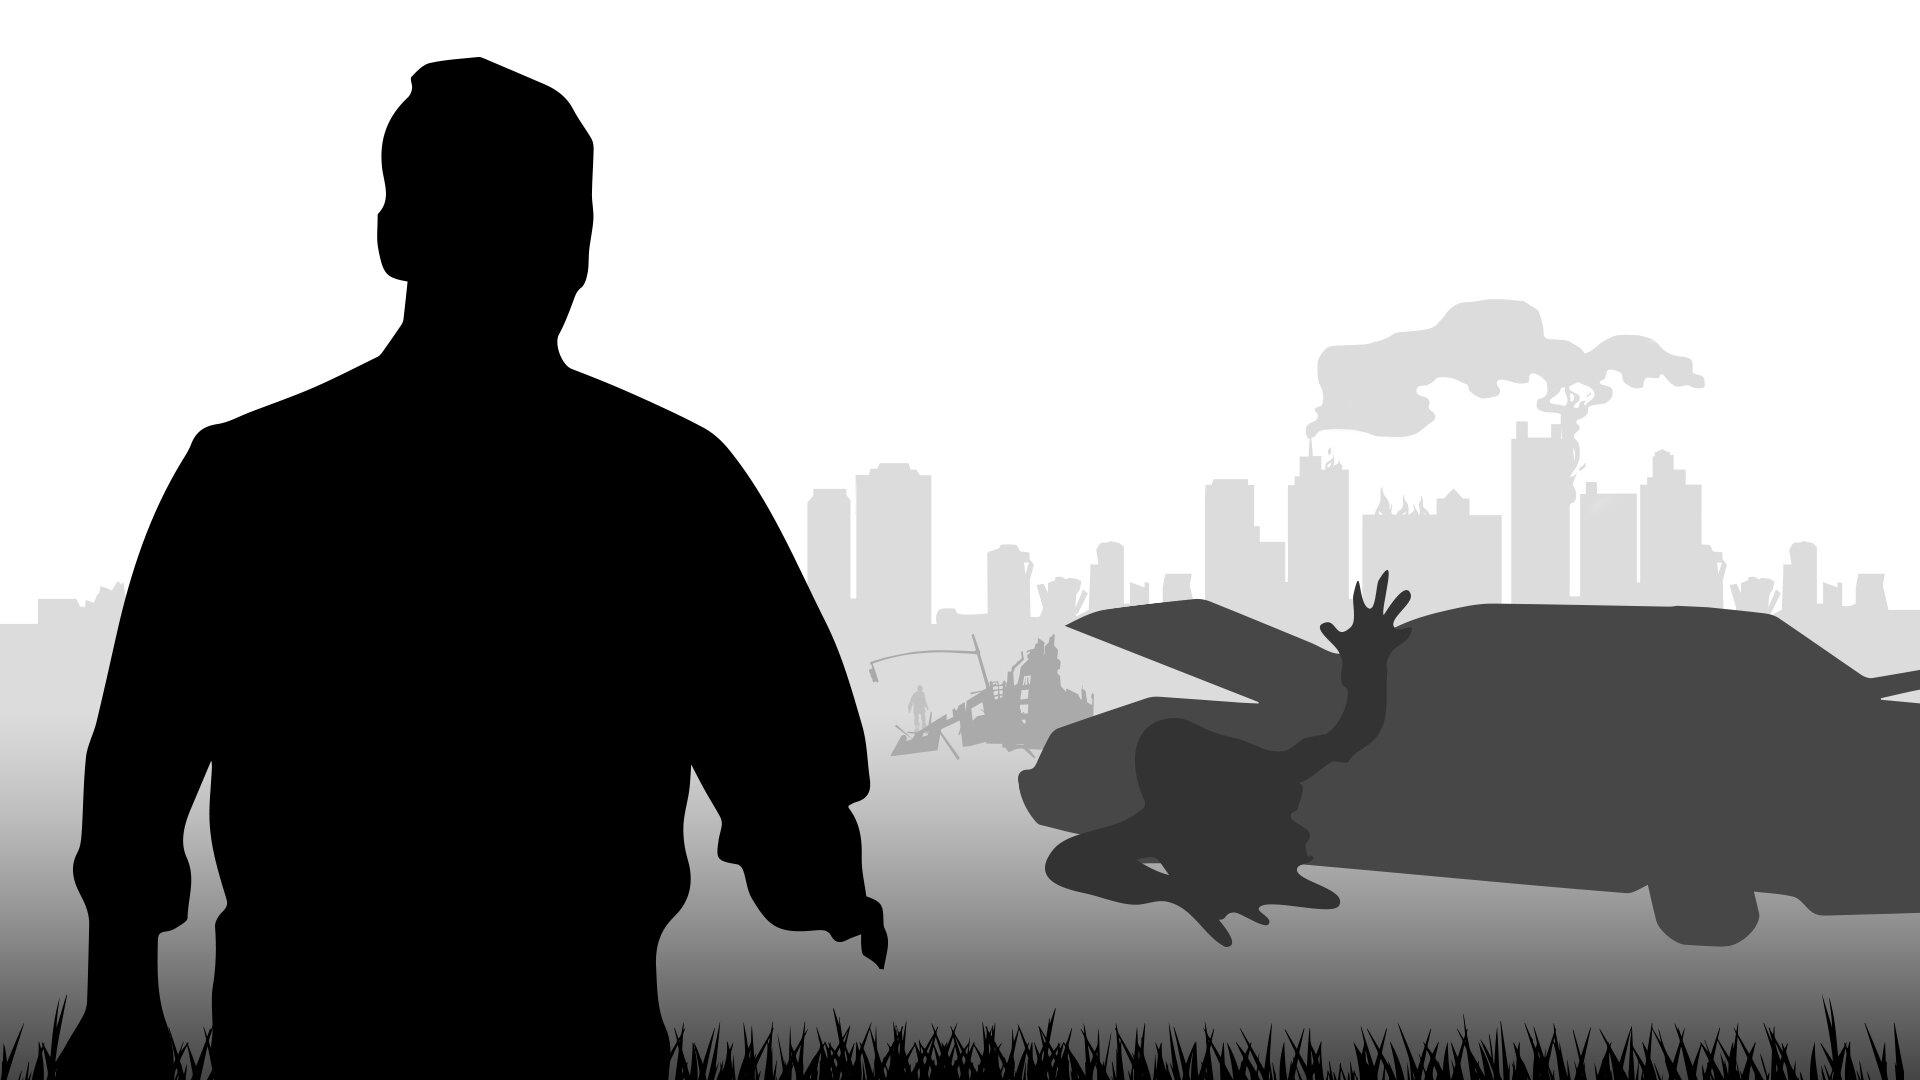
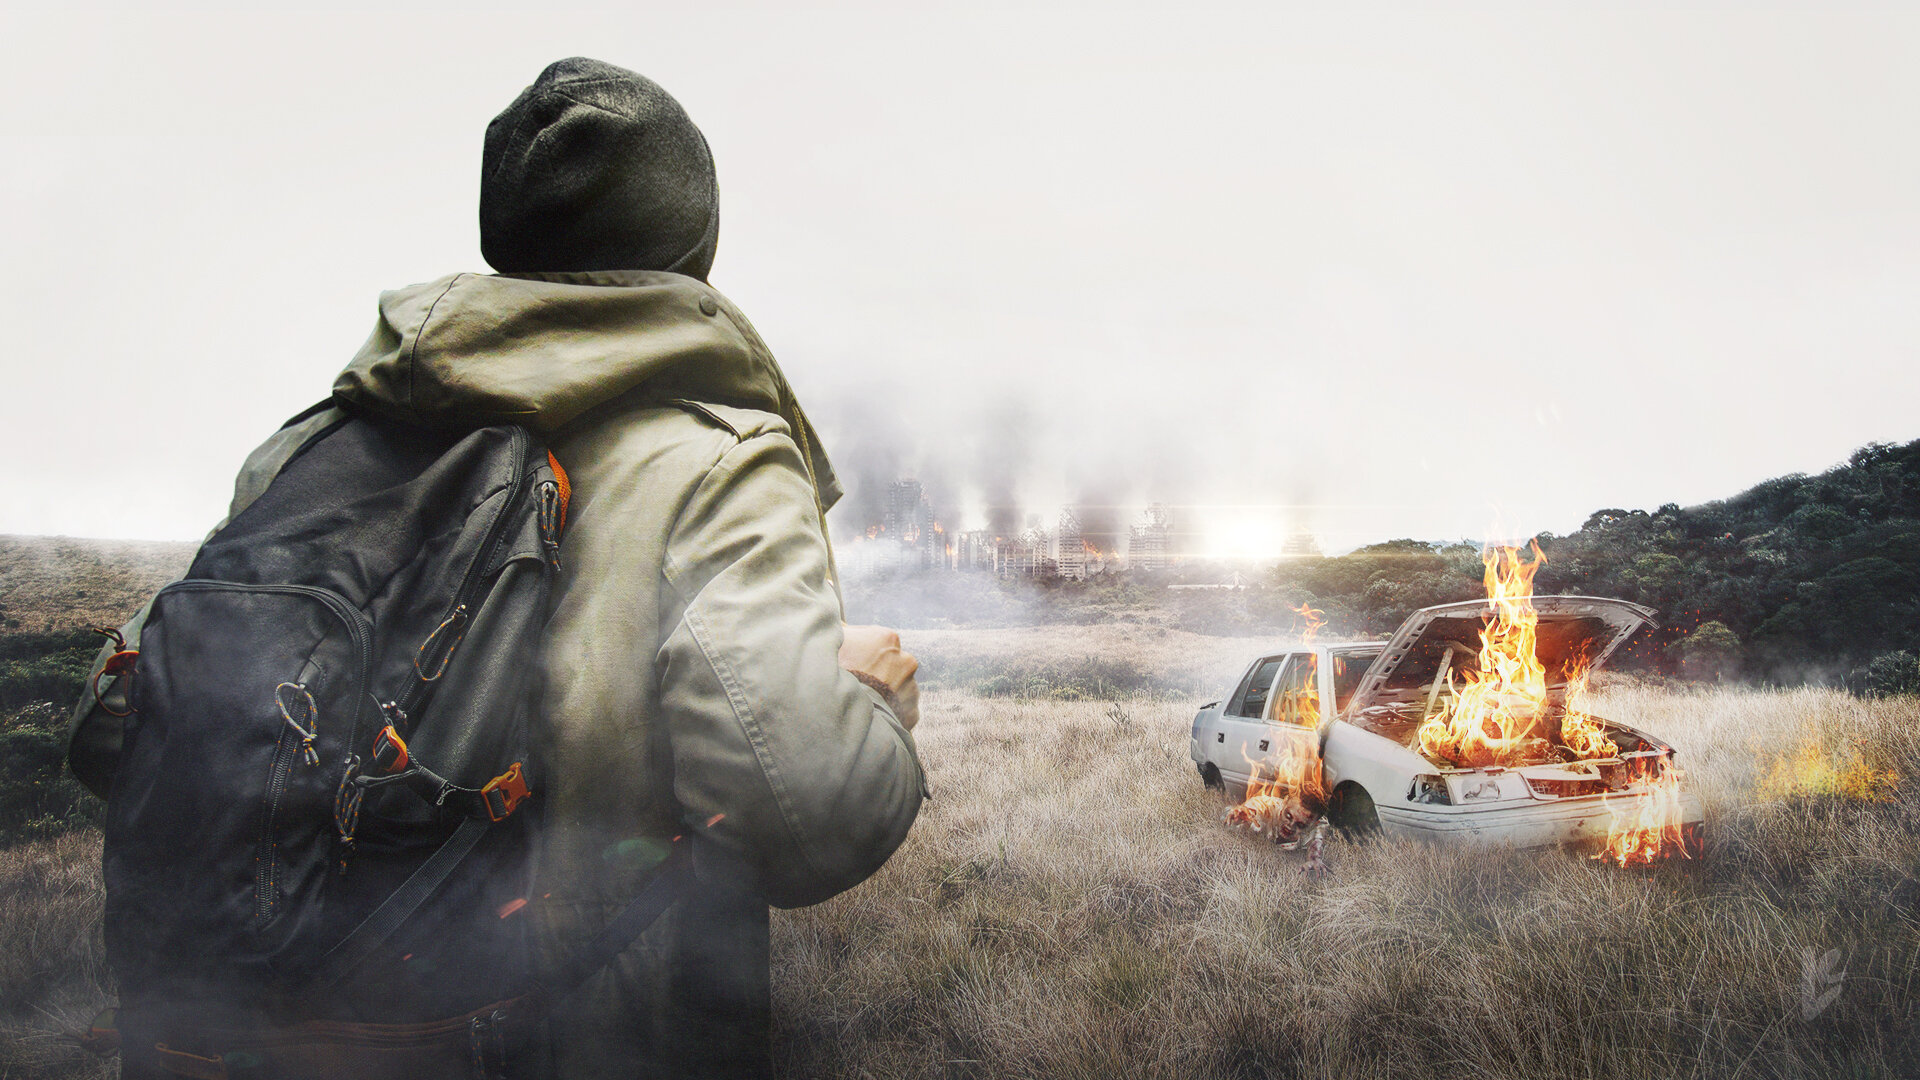
My goal for the above frame was to capture life after the zombie apocalypse. I went with a lighter composition to visualize rebirth because, in my mind, I imagined the height of the apocalypse being dark both literally (i.e., buildings burning, dark pools of blood, thick black clouds of smoke) and figuratively (i.e., a lost sense of hope with no end in site). I also used hazy textures to communicate how vast the zombie damage was, how nothing was left untouched, and that the effects of the apocalypse were still being felt (i.e., buildings continuing to burn but not as prominent, some zombies still holding on for dear life, etc.). My protagonist, even with his back to us, is supposed to be a sign of hope and a symbol of forward movement. He acts as a compass and that, even with all the damage that has been done, there is a path towards rebuilding. I hope that message is visibly understood within this frame.
The last lesson in the course was all about the construction of pitch decks and their role in client meetings. As in previous lessons Matt described how important it is to be descriptive when delivering pitches, or any client work for that matter, so that the language matches the tone of the images being presented. Most importantly though he emphasized how important it is to use this time to show our clients what goes into our thought processes, and how beneficial it is for our clients to be a part of that process. By listening, gaining perspective and interpreting subjective feedback we all have the potential to facilitate successful client partnerships and ultimately successful projects. Even though there wasn’t an assignment to turn our zombie frames into a pitch deck I may take it on as another personal project of mine.
For more information on The Futur’s Styleframe course go to the following link, https://thefutur.com/course/styleframes, and should you decide to enroll I hope it provides you as much value you as it has provided me.
Thanks for reading along. Stay safe and be well.
PS—If you enjoyed this post about The Futur’s styleframe course, and want to learn more about the styleframe process from Matthew himself, and other industry professionals, check out the Styleframe Saturdays podcast on YouTube, Spotify or Apple Podcasts.